
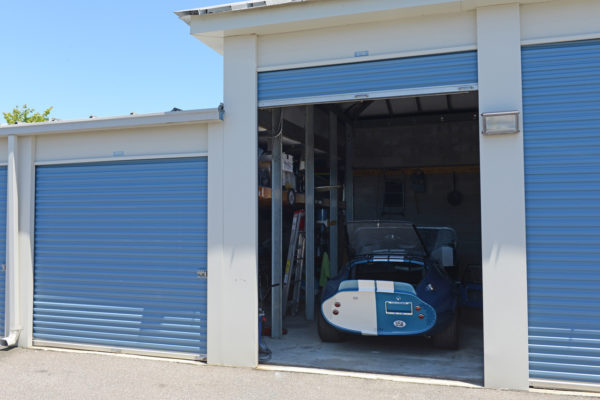
Finishing a Daytona Coupe replica inside a storage unit
As told by Rob Twine
Photos by Rob Twine
I live in Virginia Beach, VA and have been an advertising photographer for the last 39 years. The past 25 years, I've worked for a travel magazine, which afforded me an abundance of frequent flyer miles.
In the late 1990s, I dreamed of building a Cobra replica. In my excitement I paid a deposit to a company that, in my opinion was a fraud from the beginning. The bottom line is that I lost about $4,000 in deposits and became part of a class action lawsuit. The company went through several name changes, but still plied the same story until they finally went bust between 2004-2005.
Having the frequent flier miles allowed me to make day trips around the country and visit manufacturers, looking at their product first hand. However, I ended up purchasing and building a Cobra roadster from Factory Five Racing — one of the only companies I did not visit. I liked their approach and product, but I took a slight departure from the donor concept when I bought my kit in 1999. Their kit was designed to use a Fox-body Mustang donor engine, suspension, rear end and transmission. I elected to use a 428 FE motor, with a Tremec TKO transmission and an independent rear. I completed the kit in 2004 and attended the Factory Five Nationals at Virginia International Raceway.
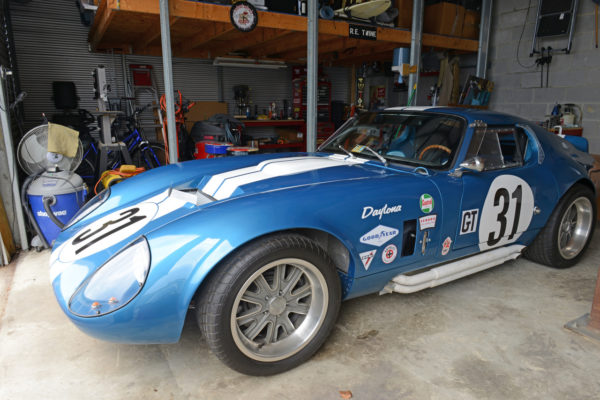
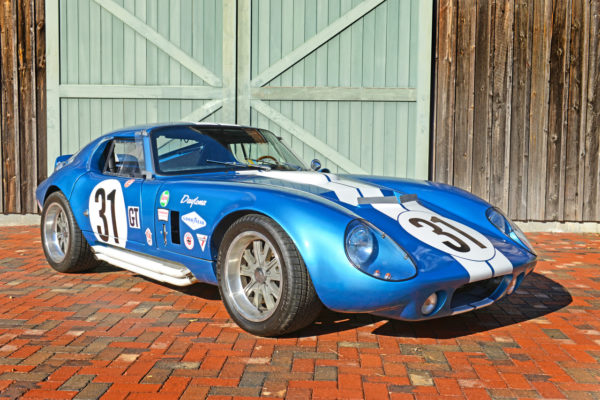
In 2005, I was back at the FFR Nationals. Back then, FFR hosted a barbecue dinner on Saturday night at the track. The highlight of the dinner was the grand prize drawing, which was a kit of your choice from Factory Five. They drew my name and, needless to say, I was shocked. Once that wore off, I decided to build the Type 65 Coupe as a compliment to the Cobra.
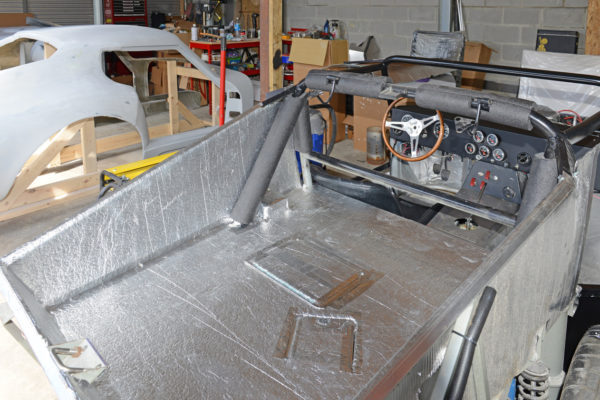
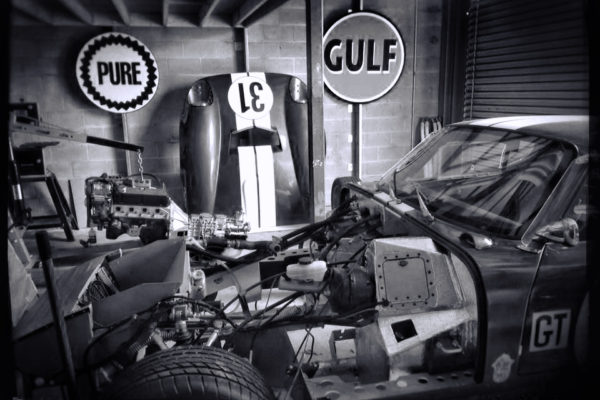
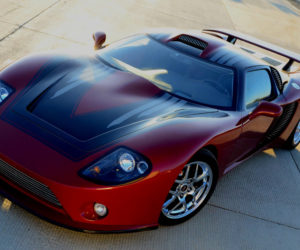
I started the build in December of 2005 and it progressed slowly. One of the great things about having built the Cobra first, is that the Coupe is essentially the same car under the body, so it was a pretty straightforward build. I also learned from the Cobra that I would only buy parts as I could afford to pay for them in cash. I didn't want to go into debt with the build. I was really on no time frame and worked on it as time allowed. There were periods of inactivity that went from a few days to several months. It all depended where I was financially.
Once the build started, I purchased a used 5.0-liter engine and 8.8-inch rear end from an ’87 Mustang. I rebuilt the rear with 3.55 gears and converted it from 4-lug to 5-lug. The engine was inexpensive and the only thing I used from it was the block. I had it bored .030 over, align honed and decked. I built it using a 331 stroker kit with forged internals, Victor Jr. heads, Harland Sharp roller-rockers and a Victor Jr. intake. The car has a Pro Systems Carburetor rated at 750cfm and the cam is a Comp Cams Xtreme Energy roller-cam.
During the build I started with an off the shelf Holley carb, but could not get the engine to idle. I then bought and installed a FAST EZ-EFI system and it ran good, but I really wasn’t happy with that either. I sold the EFI setup and bought the present carburetor. Patrick at Pro Systems built the carb based on a Holley Double Pumper using all the engine specs I furnished him and I couldn’t be happier.
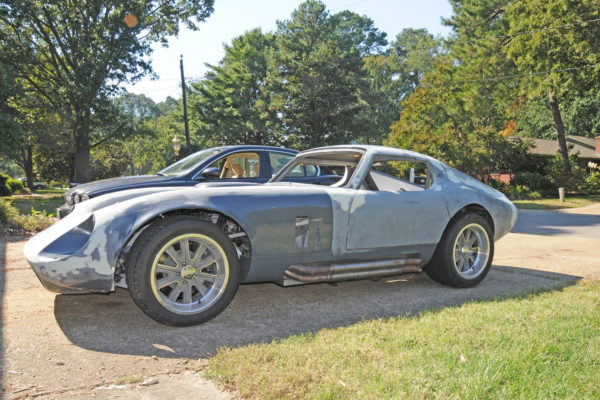
I went through a divorce in 2009 and sold my house. I moved into an apartment for two years until I could decide on my course of action. I thought of selling the car, but thankfully that didn’t happen. The car was drivable, with the body temporarily mounted on the chassis, when I moved it to the storage.
Moving into a storage facility is not for everyone. I had to weigh the cost of rent and compare that with the total cost of the car and its value. My logic was that my rent for the apartment and the storage unit was half of my previous mortgage payment for my house and garage. When thinking in those terms, I could justify it. Some people may not. After a few years, I purchased another house and dumped the storage units, and finally have all of my toys in one place.
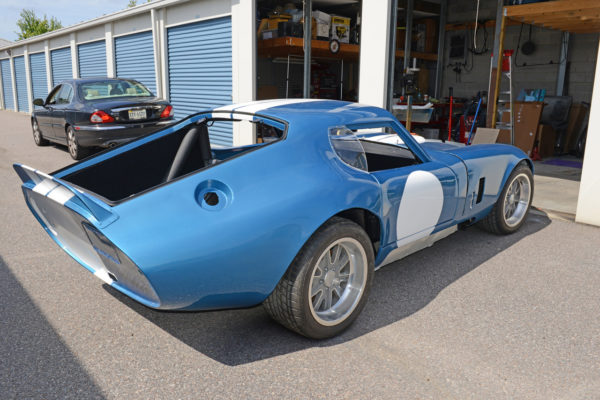
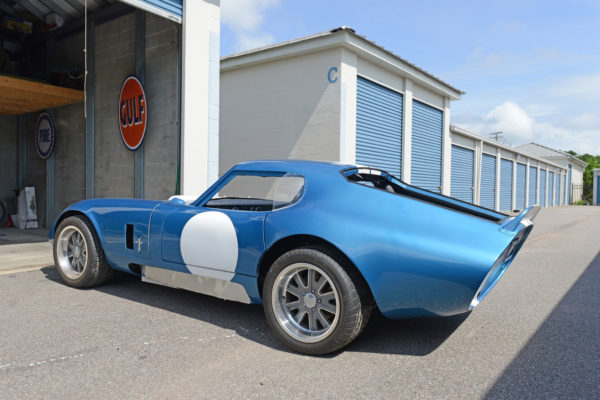
Building in a facility like I did presents a few challenges. In shopping for the unit, I made sure the facility was car friendly. They had several tenants with cars and motorcycles, so that was not an issue. The units I rented were three adjacent units that the previous tenant had modified. The interior walls were removed giving me a space measuring 30' x 25'. He had installed two lofts in the end units that provided me an area for household goods, leaving the lower level as my garage. There was power, however it was tied into the exterior lighting, so it only worked when the exterior lights came on. I worked around that by having a small generator when I needed power tools. I had no issues from other tenants or management in building the car. I tried to limit my use of power tools for after hours, and most people that saw what I was doing would stop and chat, or simply give me a thumbs up.
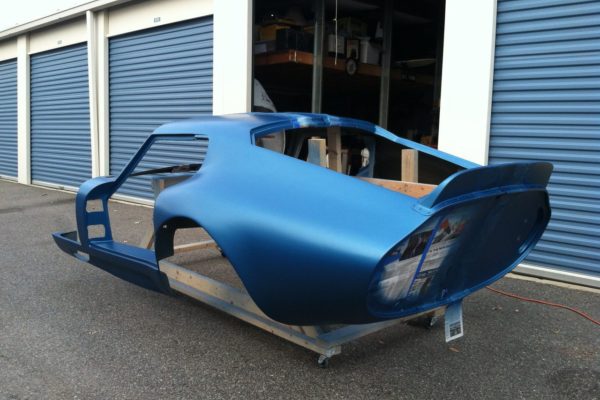
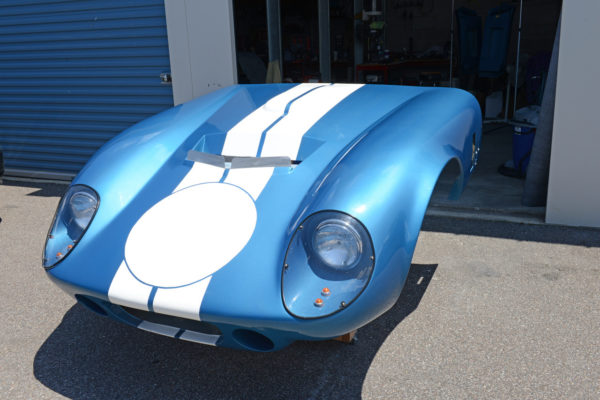
My real concern came when it came time to complete the bodywork and paint. I would work during the week when I could, and would roll the body outside to hand sand. There was a water spigot on the property, so a bucket and sponge kept the dust down. Being outside with a good breeze helped also.
Once I was satisfied with the body prep, painting was next. I had never painted a complete car before, so this would be a challenge. I watched every YouTube video and all of the videos available on the Eastwood website. I bought an inexpensive airless turbo sprayer for the high build primer, and a really nice spray gun from Eastwood.
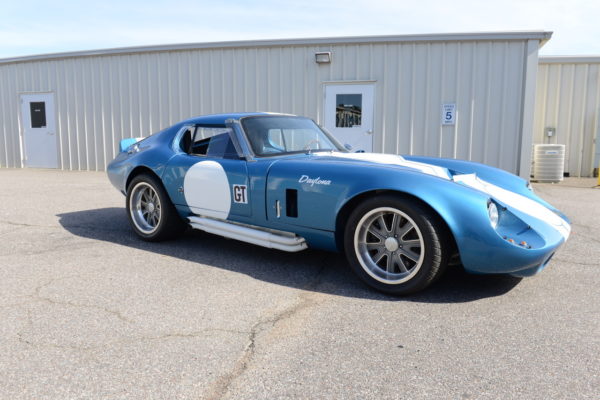
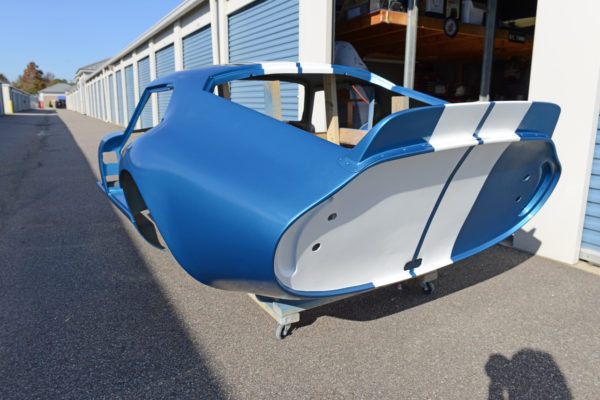
One bay of the unit was prepped with a good sweep and then water was dumped on the floor and squeegeed. Next, I enclosed the entire unit with plastic and the fun began. I installed a box fan at one ended drawing air out, and furnace air filters at the other. Not sure if it helped, but I figured it couldn't hurt. The paint I chose was a base/clear coat made by Sherwin Williams. I bought the paint locally and it was mixed ready to spray. I just had to add the hardener and reducer. Part of choosing this product was having a seven-day re-coat window. This allowed me to spray the stripes one day, the body color the next, and clear as I could within the seven days. I live in an area that can get quite hot, so I elected to wait until the fall for cooler temperatures and less humidity. I couldn’t be any happier with the finished product.
Building a car in a storage unit may not make financial sense for everyone. I think you need to assess the circumstances and decide. I could justify the cost of the units as my mortgage was more than double the cost of renting an apartment and the storage.
Overall I am really pleased with the way the car turned out. It was not ideal by any means, but in pursuing a dream, sometimes we make adjustments to achieve that dream.




Comments for: Storage Shed Shelby
comments powered by Disqus