
RaceDeck modular garage flooring tiles installed
Photos and story by Dean Larson
The concrete floors in your shop area are subject to a lot of abuse. You’ll undoubtedly spill all sorts of oils, drop tools, and use heavy items like car jacks and engine hoists on them. There’s a ton of different shop flooring options out there, but ultimately, each flooring application should be considered on its own merit to find out which option is best for your workspace.
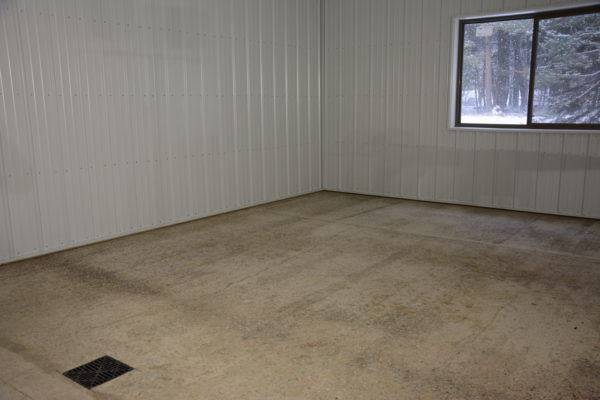
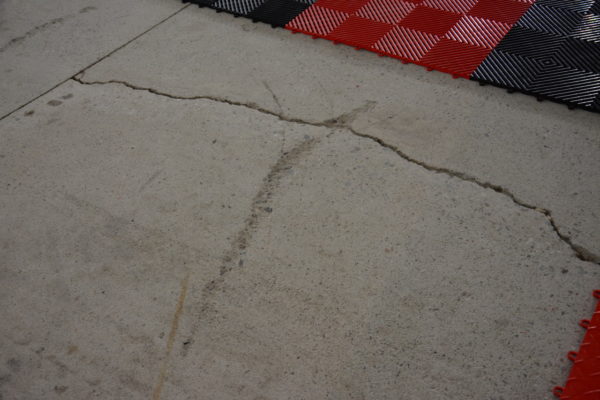
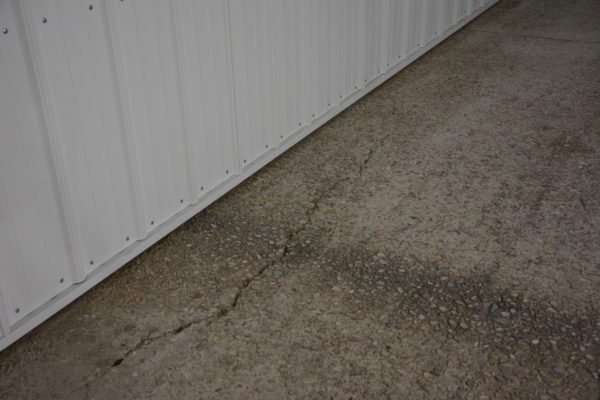
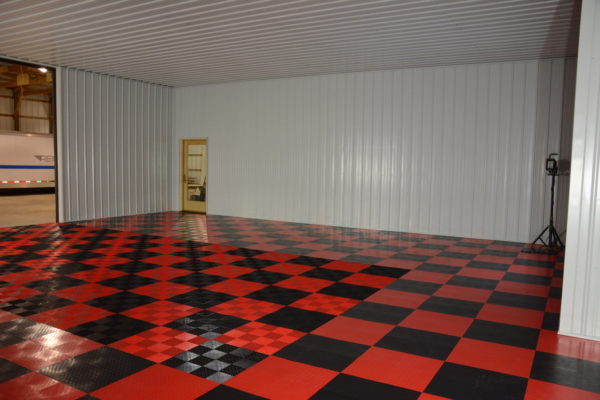
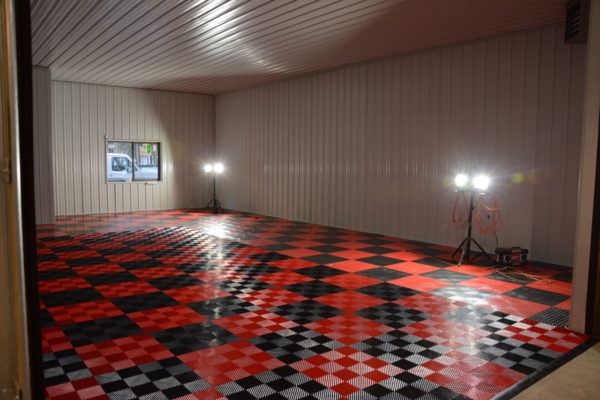
Recently, a member of the RCN staff remodeled one of his existing steel buildings and added a heated shop space out front. For his application, he chose RaceDeck modular flooring because he liked the look and options it gave for installation. One large factor here was the condition of the existing concrete. Being an older storage building, the concrete was rough and had some gouges and cracks throughout. The large tiles easily covered surface imperfections, and you’d never guess the concrete underneath is as rough as it is.
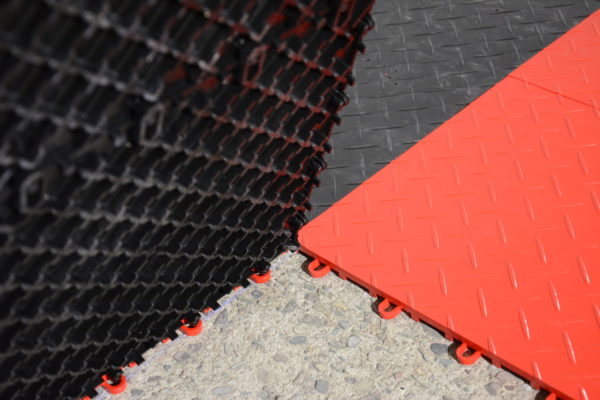
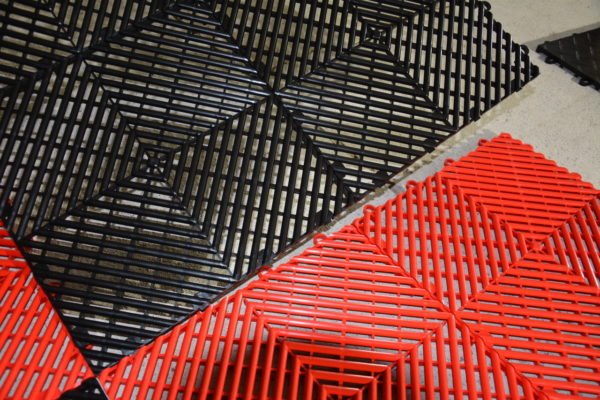
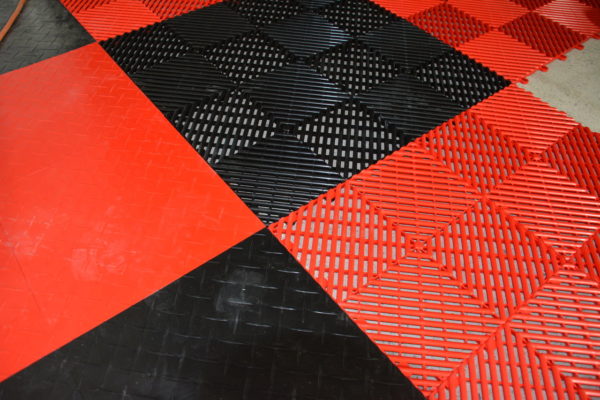
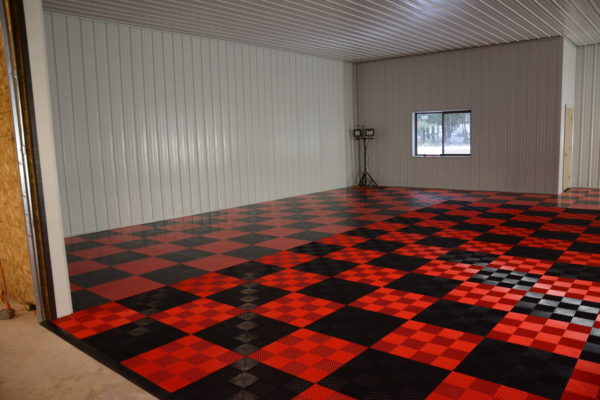
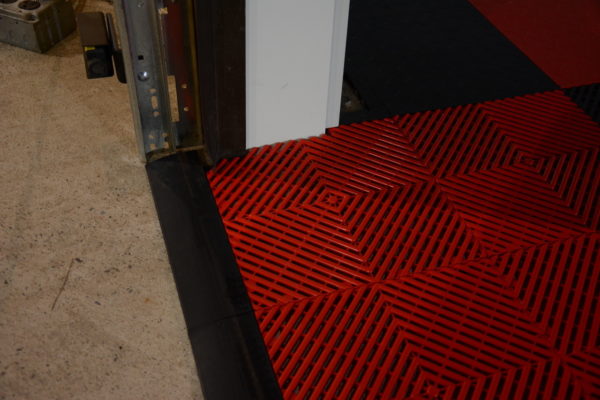
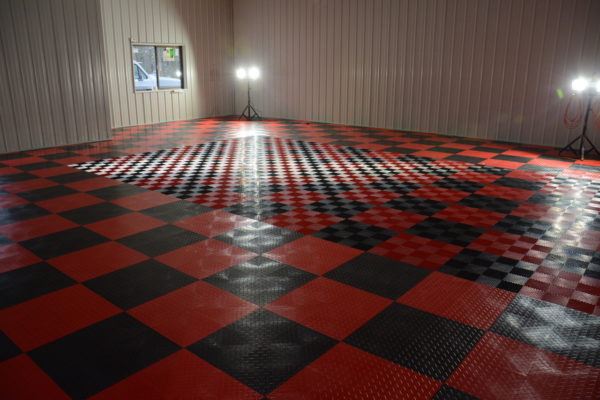
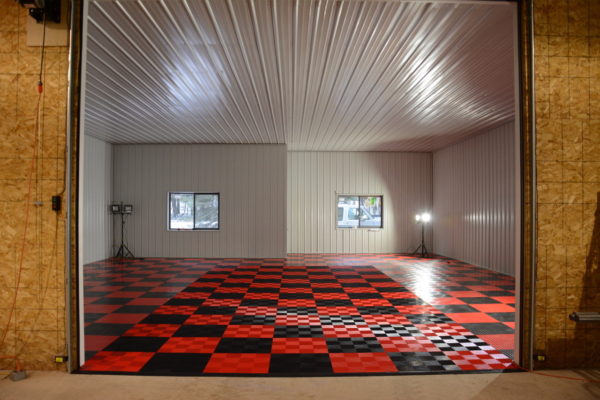
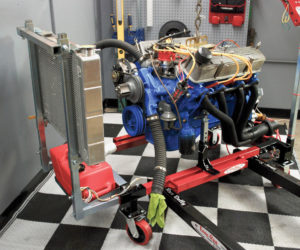
Modular tile flooring also allowed us to use two different kinds of tiles for the space. Around the edges of the shop, we used standard RaceDeck Diamond tiles measuring 12 inches by 12 inches by 1/2 inch. These tiles are nice and smooth for rolling dollies and creepers on and clean up easy. The shop space also has a large garage door, and we chose the self-draining Free Flow tiles for the area near the door. This will allow snow to melt off vehicles and make its way to the floor drains below. RaceDeck claims both of these tiles support rolling loads of 80,000 pounds and are resistant to petroleum products and chemicals.
The company’s website had a nice “floor designer” tool that made ordering easy. The tool allows you to put your shop area dimensions in (including bump-outs), pick one or more colors, and select a solid, checkered or bordered tile pattern. It then calculates the exact number of each tile needed.
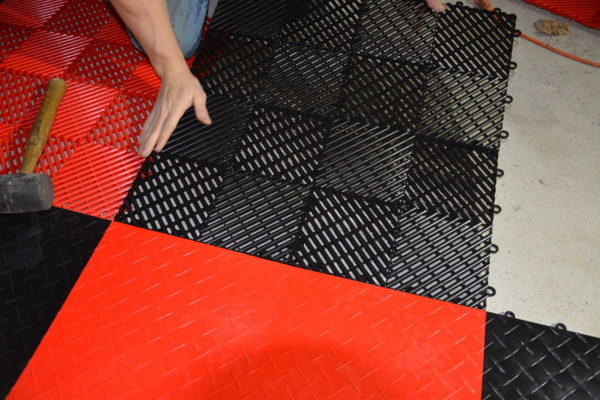
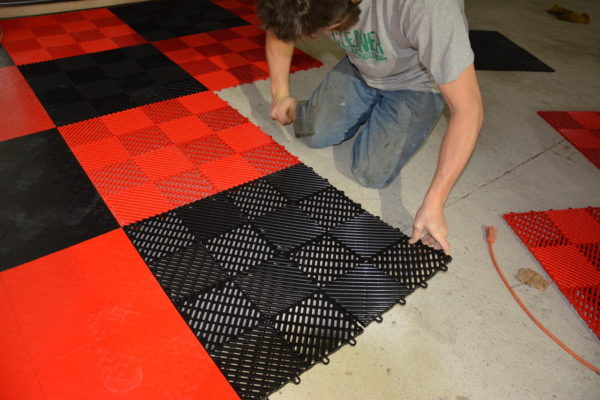
Installing the tile flooring was a simple DIY affair. The tiles have interlocking loops and tabs that went together simple enough. RaceDeck advertises that the floor simply snaps together by pushing down on it with your foot, however we found the rubber mallet to be our tool of choice. Starting at a front corner, you first make a large “L” shape along two walls and work outward toward the opposite corner.
It’s important to note here that you must follow that manufacturer’s specified 1/2- to 3/4-inch gap between the edge of the tile and any wall or obstruction. There’s plenty of fuss on the internet about these types of floors expanding and buckling up when subject to heat, but following this simple instruction should avoid that entirely.
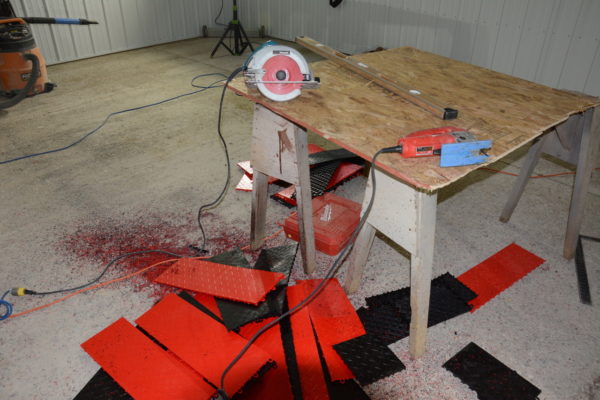
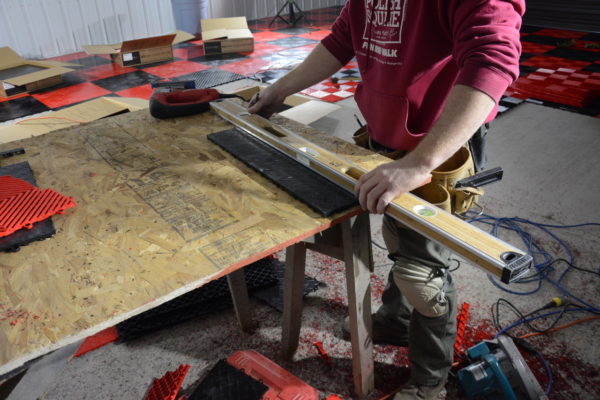
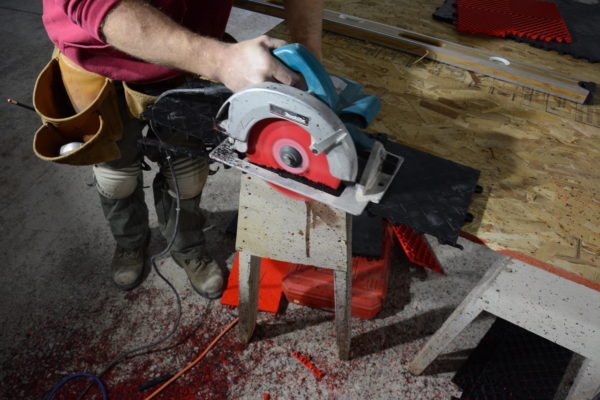
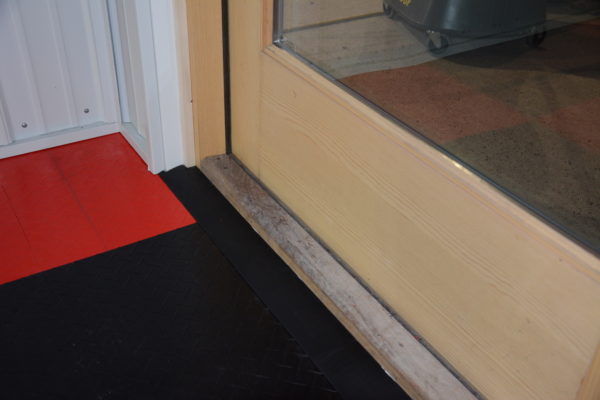
When we got to the final edge of the flooring, it was necessary to trim the final row down. A plain circular saw worked nice for trimming width off entire tiles, while a jigsaw was used to cut more intricate shapes, like around the garage door rails. We then installed the thresholds along the garage door and service door openings. The final result was striking. It’s hard to believe that this is the same space.
There are a couple precautions you’ll want to be aware of when using this flooring though. We’ll repeat ourselves, you need to leave the instructed spacing around the edge of the flooring and any obstructions. This worked out great for this shop, because the 1/2-inch gap is hidden under the trim on the steel paneling.
Also, you’ll need to be mindful of heavy objects with a small surface area. This mostly pertains to car jacks and certain jack stands. The company specifies that jack stands with flat feet are fine, but if you leave a vehicle on jack stands with sharp L-shaped feet, or jacks with small wheels, it can leave an imprint on the flooring. For these situations, you’ll want to place a piece of plywood underneath.
We’ve been using this shop space for roughly a month now, and the floor is holding up great and suits the space well. The plastic polymer tiles have been resistant to stains, including the oil, transmission fluid and penetrating oil we’ve spilled so far. Also, it’s February here in northern Wisconsin, meaning plenty of snow has been tracked into the shop, but we’ve found the flooring drains well and is slip resistant when wet. The red and black checkered pattern is also a pretty big hit with friends who come to watch us work and raid the beer fridge.
We’ll give you an update an update on our experience with this flooring in the future. Check out www.racedeck.com for more information and a video installation tutorial.






Comments for: Installing RaceDeck Shop Flooring
comments powered by Disqus