
Aluminum Composite Material Chupacabra Supercar
Text and Photos by Charlie Strickland, Strickland Racing, Inc.
On any hand-built car, a number of panels and parts have to be fabricated to fit between the chassis and the body, with several common methods for doing so. For example, a dash or door panel can be sculpted from thin plywood and then covered with foam and upholstery. Or a trunk shell shaped from cardboard and duct tape is then covered with fiberglass. Alternatively, inner fender wells of ABS plastic sheeting can be shaped with a heat gun, and then there’s the typical aluminum or sheet metal bulkhead.
These methods have things in common that make them the stand-by procedure. They can all be done with very basic skills and no special tools, and the cost is reasonable.
Now enter modern technology and something called ACM, or Aluminum Composite Material. This product consists of two thin sheets of aluminum that sandwich a plastic core between them. Available in standard sheet sizes, it is as strong as an equal aluminum sheet, but at half the cost and half the weight. Like aluminum sheets, it is available in various textures, colors, finishes, and thicknesses.
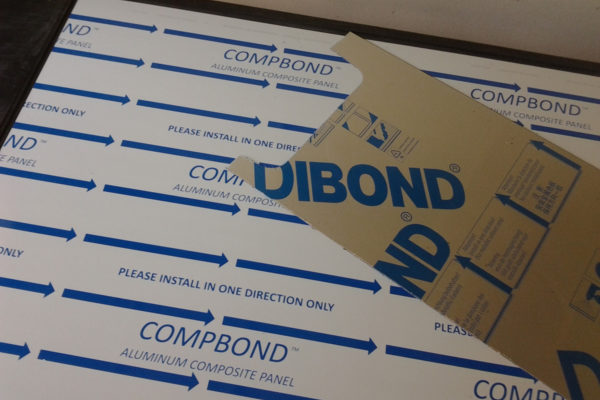
Priced at about $75 for a 4x8x1/8-inch sheet, it is going to cost a little more than plywood or ABS, but way less than an aluminum sheet. It has all of the qualities that the old methods have and more, making it an interesting new fab technique and the price well justified. There are several trade names for ACM. Alumet Supply calls it Compbond while the firm 3A Composites calls its product Dibond.
This material is used extensively in the new Chupacabra by Strickland Racing Inc. (SRI), and the car’s construction well illustrates some of the ACM possibilities. First, even though the ACM comes with a finish on both sides, SRI discovered that when covered with a wrap of carbon fiber, it looks and feels just like a carbon fiber component! This approach is done using “Dragon Wrap” from General Formulations. It is a 5.6 mil vinyl film that’s “calendered” (extruded from heated steel rollers) and coated with an acrylic adhesive and an air-egress liner. All of which means that it is ridiculously easy to apply.
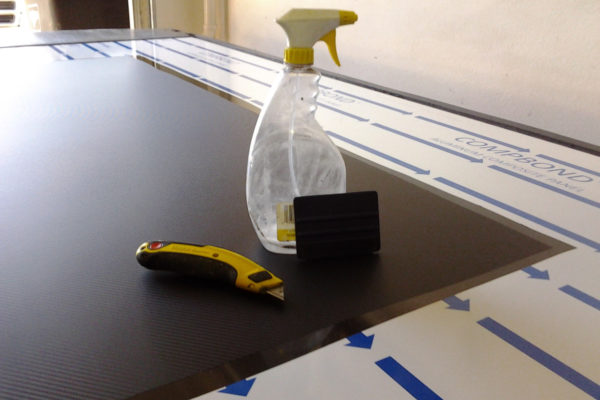
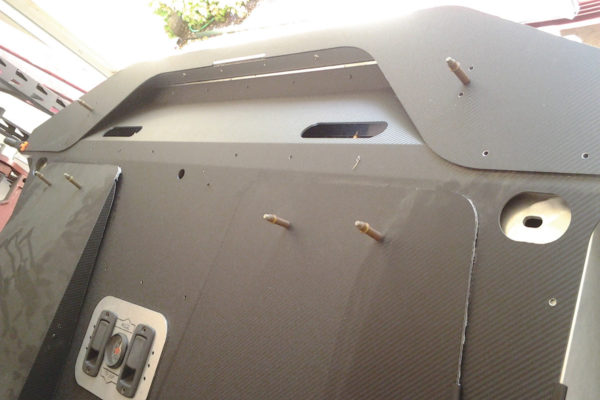
Here’s how that’s done on the dash and front fenderwells on the Chupacabra: To cut and form a dash top, the protective film is removed from the ACM sheet and a piece of carbon fiber film slightly larger than the dash cutout is applied, just like any other film or vinyl decal. A mixture of water and a few drops of dishwashing soap is misted on with a spray bottle, the film is applied over that, then the water and air bubbles are squeegeed out.
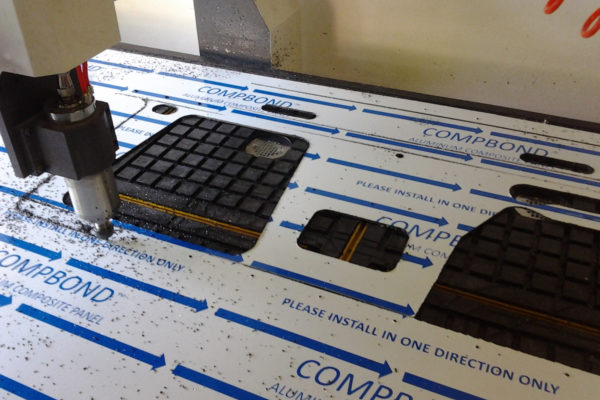
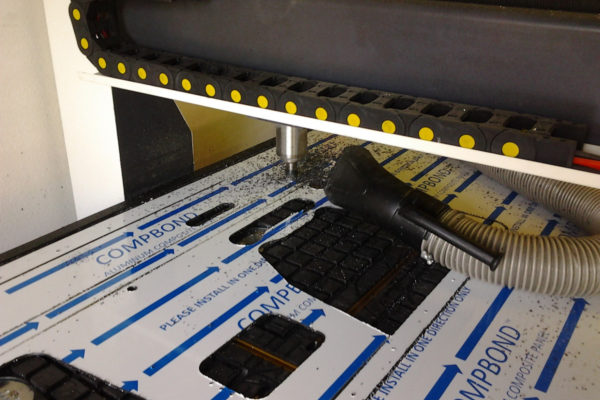
The dash requires a pretty large piece of film, 34 x 66 inches, but with the air-egress liner, it is amazingly simple to apply the film with no trapped air bubbles to ruin the look. This particular dash will be folded as well as cut, but putting on the film while the ACM is still flat makes the application much easier. SRI is fortunate enough to have a CNC router in-house that is used to cut the dash profile, but the same thing can be accomplished with a sabre saw, a drill, and a hand router.
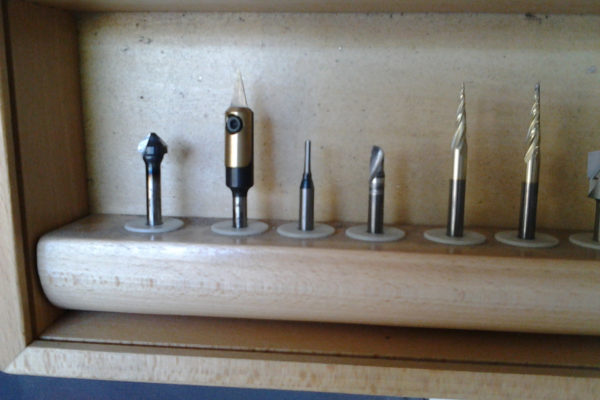
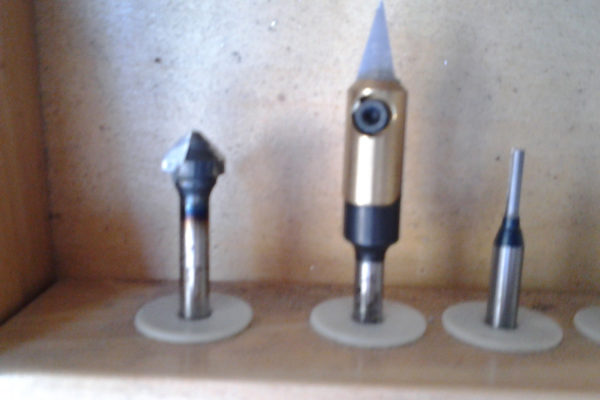
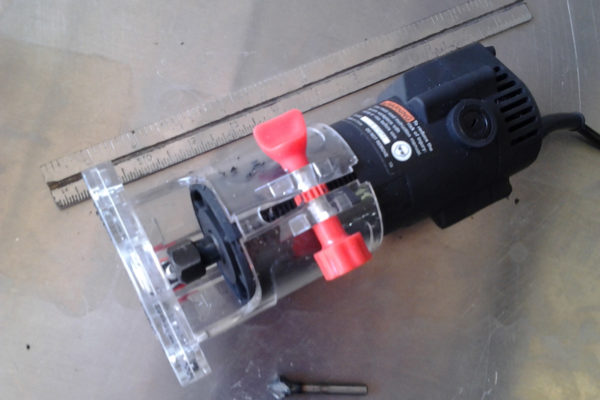
In order to fold ACM, it must first be scored with a special router bit designed for this one task, such as Amana Tools #45792. Using that bit, along with a 1/8-inch, “0” flute #51454 and 1/4-inch “0” flute #51402, the sheet is loaded into the CNC with the film facing down, and the dash is cut and scored.
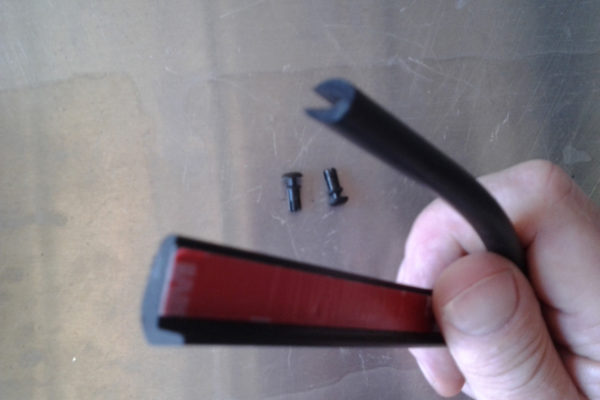
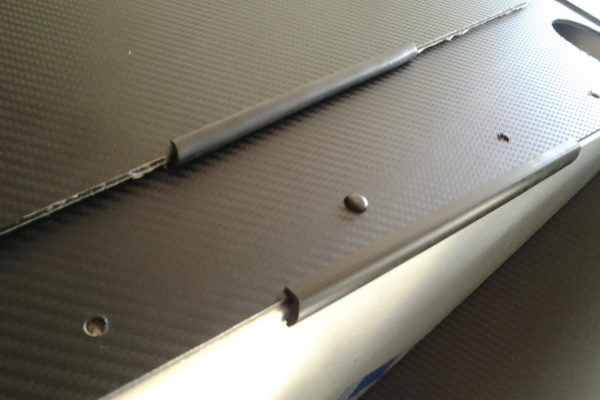
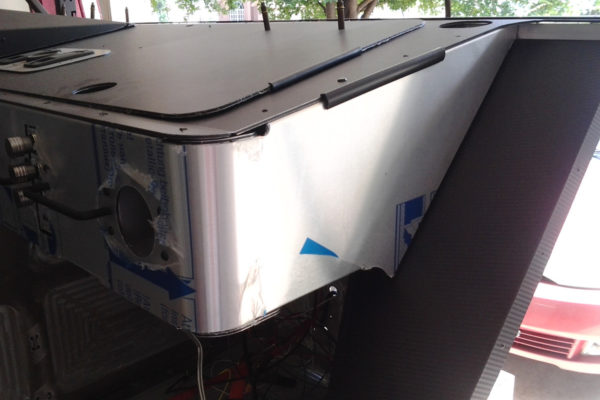
When it comes off the CNC, the folds are completed by hand, and the dash top is ready to install. The total time invested in the dash top to this point is about five minutes. An edge trim from Trim-Lok, #X1003 and #PLGB, finishes the corners and completes the detail. Heyco Snap Rivets, also known in the automotive industry as Struss Rivets, give a nice clean attachment method that compliments the carbon fiber look. Those products can be purchased directly from Trim-lok and Heyco, but only by the truckload. They are available in reasonable quantities from Austin Hardware, a valuable resource for these as well as other obscure components. Austin specializes in automotive coachbuilding hardware for fire trucks, utility trucks, custom trailers, and such. This firm is a one-stop shop for everything from these items to door latches to window felt.
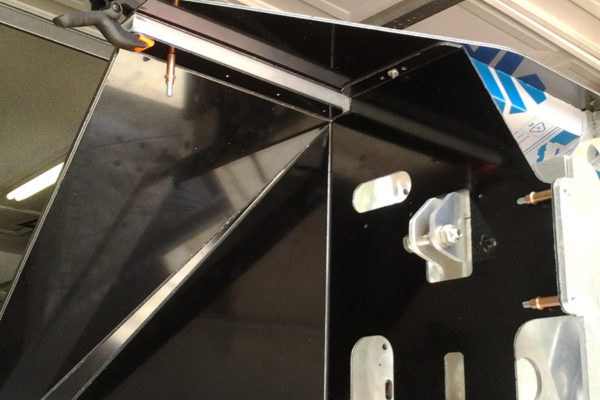
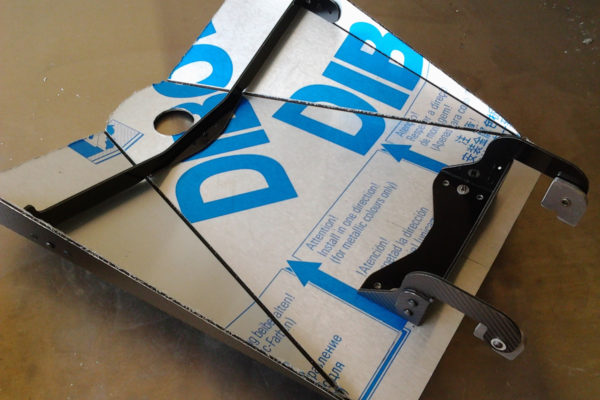
The same process is repeated for the fenderwells. The selected black finish is on the outside while the carbon fiber film is on the cockpit side. Other examples of what SRI calls “Origami Construction” can be seen in the dash pod and brace, and its one-piece hinge. All three pieces are cut, bent, and “Strussed” together. Once the trims are added to finish the part, it appears just like an expensive vacuum-formed composite part. The total labor invested is only a few minutes and the total cost is only a few dollars, less than the cost of a pair of hinges from Austin Hardware.
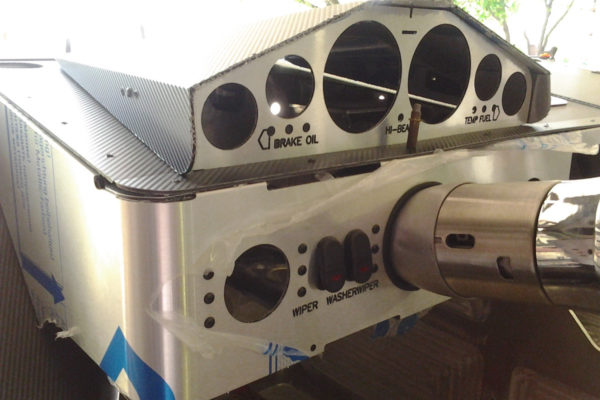
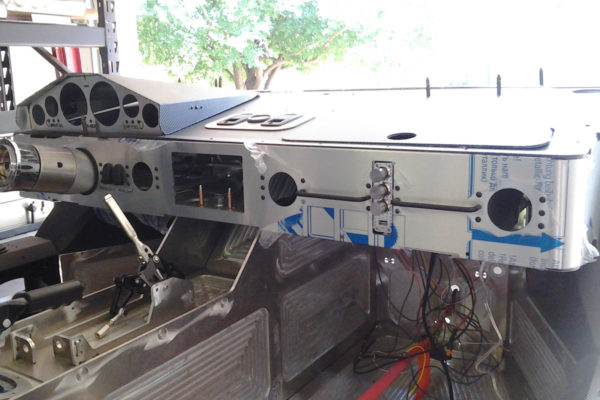
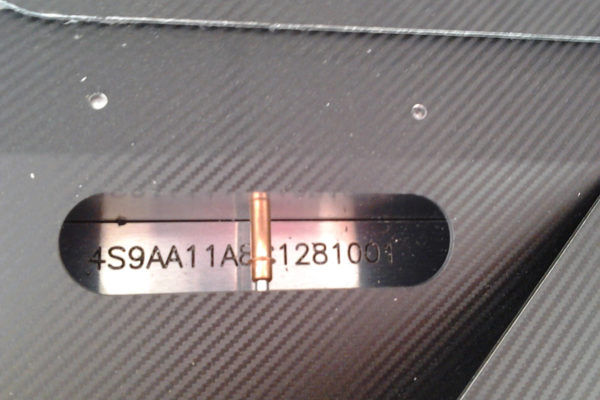
In addition to the black ACM, SRI uses a silver brushed-finish ACM with clear anodizing for accents on the Chupacabra such the dash face, which shows some additional design capabilities of ACM. The same Amana bits are used to cut the face, but an extra engraving bit #1075 is used to do lettering and identify lights and switches. This bit cuts through the aluminum layer and exposes the black contrasting plastic core behind it to make a simple and efficient way to letter the dash.
A radius in the corner of the dash is a more desirable design feature than a 90 degree fold, so the corner was roll formed, rather than scored and folded. To make this tight 1 1/2-inch radius easier to form, the aluminum on the inside of the radius was milled off by the CNC, making the 1/8-inch ACM panel only 1/16-inch thick through the whole bend area. Now, like the folds, the radius can easily be formed by hand as well. The whole front dash panel is just short of eight feet long when laid flat and it has numerous bends and brackets built into the design. When folded and assembled, this Origami dash is very rigid and structural.
All of the above is not meant to be a summary of everything that can be done with ACM, just some ideas to get started. The new technology of ACM can also work well with the new technology of hydrodipping. For those unfamiliar with hydrodipping, here is a simplified explanation.
An ink film is floated on a water surface and a part is dipped in the water through the film. The film is flexible and clings to the convoluted part surface. These films are readily available in patterns such as carbon fiber, camouflage, and skulls, to name just a few. Basically anyone with a $200 hydrodip kit and a bathtub can complete this process, but a big word of caution before we go any further: Anyone with a $200 Harbor Freight powdercoat gun and a kitchen oven can also complete that process, but cakes will taste like Harbor Freight from now on. A similar problem of residual effects will happen with hydrodipping in the bathtub!
SRI experimented with hydrodipping these parts instead of wrapping them and here are the pros and cons. Small parts are fine, but something as large as a dash top is much more difficult and it must be perfect the first time, there is no second chance. Dip it wrong and the part is ruined. The ink from the dip actually etches into the aluminum, giving a textured but hard feel.
Also, the ink does not cover the entire surface, so the color of the surface is featured predominantly. That is why the fenderwells are black, even though they will ultimately be covered on the outside with Lizardskin, so they use ACM left over from those experiments.
The Dragon Wrap gives a softer texture finish to the touch, something that SRI finds more desirable. The wrap can be sprayed with a clearcoat to give a harder feel, but neither SRI nor Matt Edwards, Concept Product Manager for General Formulations, personally prefer that finish. In sum, it can be hydrodipped, but we like the ease and feel of the wrap film.




Comments for: ORIGAMI CONSTRUCTION
comments powered by Disqus