
PRO PAINTER'S TIPS
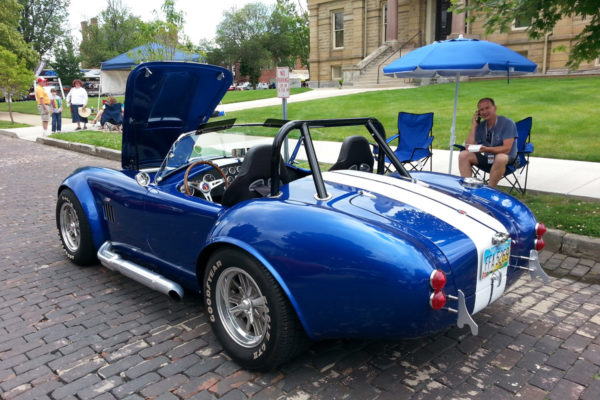
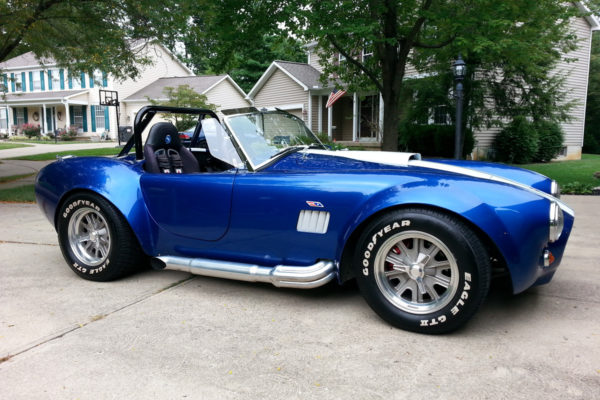
A lot of work and goes into making your Cobra body look the way you want it to. Just ask Tom of Tom Weber Paint and Body. “Most bodies come very rough from the manufacturer,” he points out. “There are many imperfections that need to be addressed.”
The first and most important part is attaching everything on the chassis. You must put the body on and mount the doors, hood and decklid.
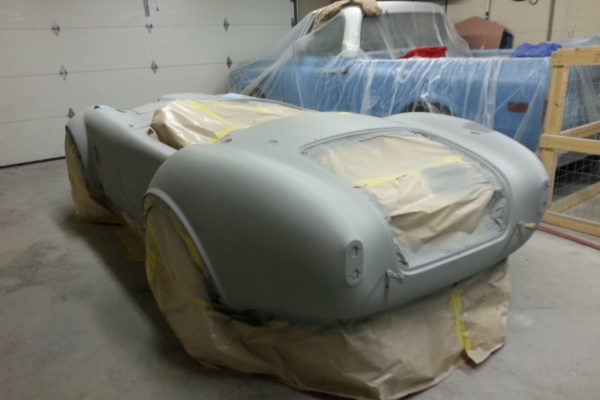
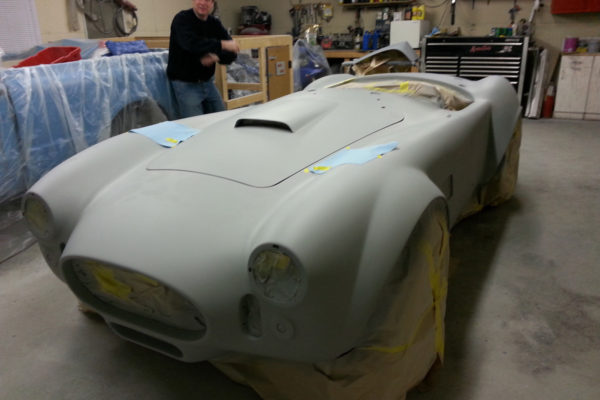
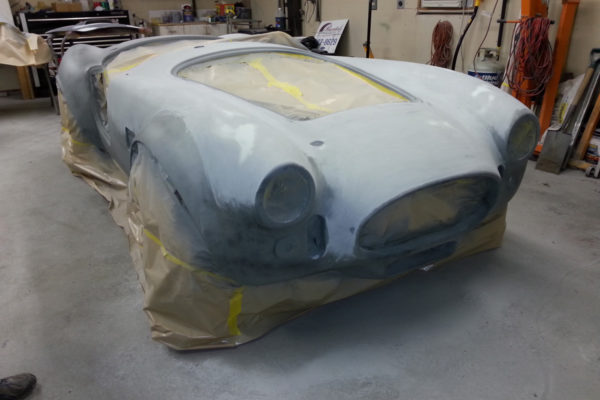
“I recommend fitting everything on the car,” he notes. All the lights, bumpers, windshield, and roll bar. Once all panels are fitted the best they can be, it’s time to block the body. This will show you where all the low and high spots are so you know what to fill and what to block down. All the seams need to be filled and blocked straight. The areas around the door openings as well as the hood and decklid take lots of time and patience.
After all the filler work is done it is time to prime the body. “A good quality 2K high-build primer is the way to go here,” Tom advises. Once body is blocked and any areas that you may have missed the first round are repaired it is time to put another few coats of high-build primer. This layer will blocked sanded out for paint. “At this point I remove the body from the chassis and place it on a body cart,” he says. “The car is now ready for the paint booth.”
With the body on a body cart and the hood, decklid and doors mounted on stands, you are ready to apply the main body color. If you are putting stripes on the car you will have to fit the hood and decklid back on body to tape off stripes so everything lines up on final assembly.
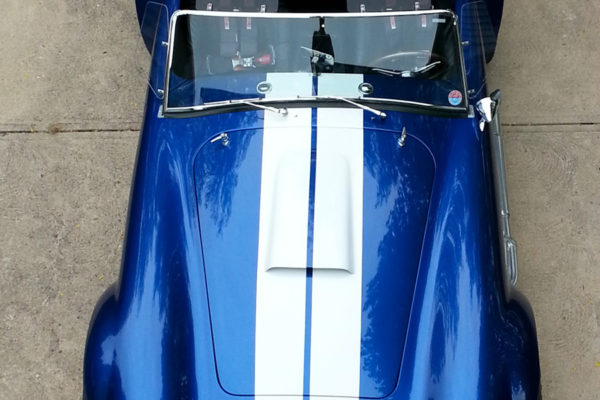
Once taped off, remove the hood and decklid and spray stripe color. Finding the center on body is crucial to have straight and perfect stripes.
Clearcoat the entire body and body panels. Once the car is dry you can do any wet sanding and buffing that may be necessary. Then you get to assemble the whole car, again. Like Tom says, it takes a lot of time and effort to get the job done right.



Comments for: PRO PAINTER'S TIPS
comments powered by Disqus